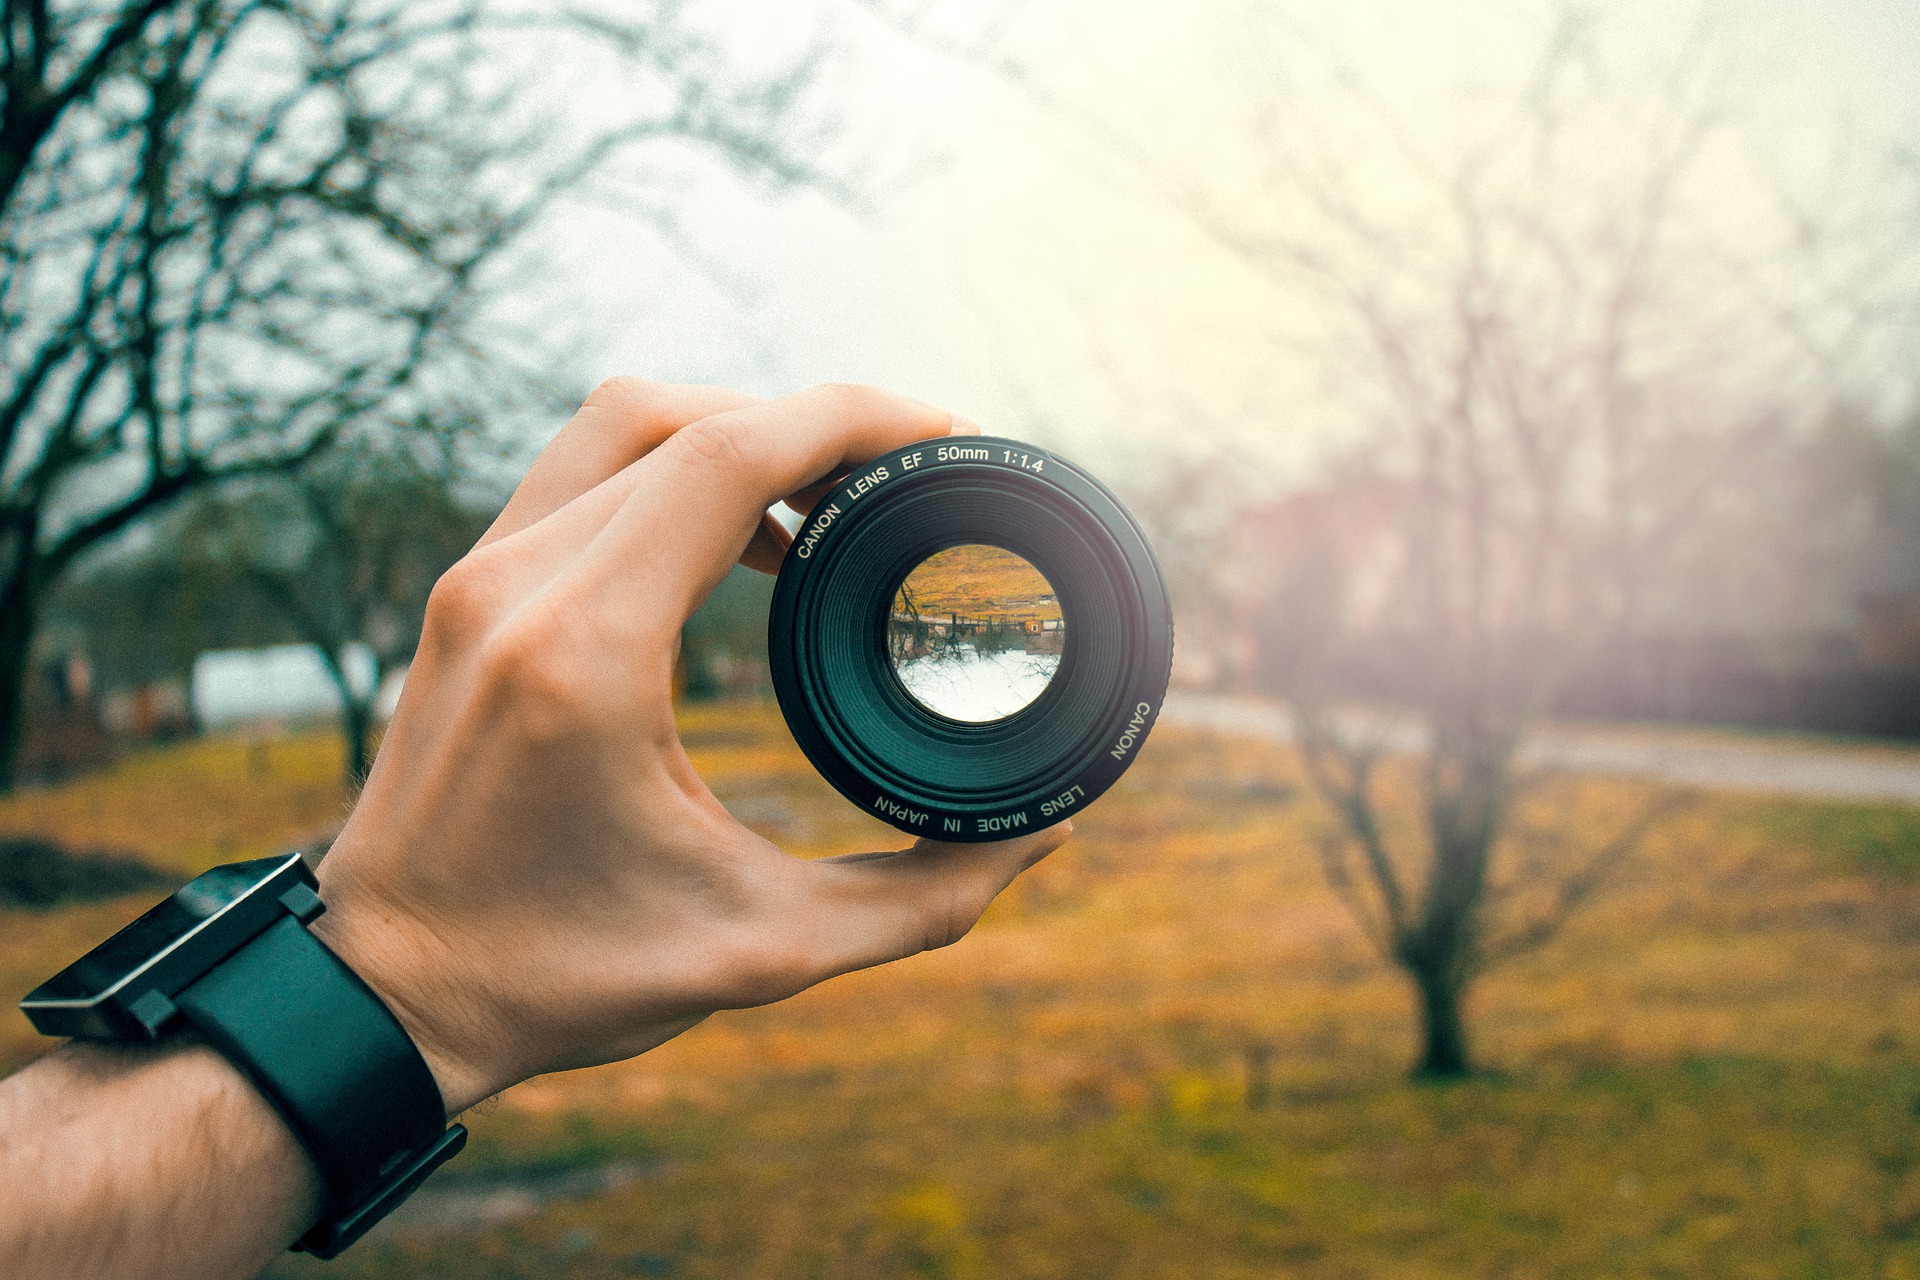
In this article I am describing how to set up your camera. I’m sure the only way to really learn how to take photos is to keep trying. Secondly, practice is a fun way to learn photographying. Thirdly, and most importantly, is that you will also need to study up on photography. A nice photograph is made by setting up the camera correctly, getting the composition right and using the incident light creatively.
Above all, keep in mind that mastering the technical side of exposure will free your hands to develop your creative photographic intentions. In particular, it depends on what level of photography you want to pursue.
You’ve probably already been shooting or are shooting in auto mode and want to achieve better photos by trying out other shooting modes as well. There are many available, certainly from automatic to scenic to manual mode. To use it properly, you need to know how the photo is taken. Let’s start by first explaining the various camera setup items and then I’ll fill you in on the principles of photography.
What is ISO and how to set ISO
The ISO value expresses the sensitivity of the camera chip to light. In other words, the magnitude of the ISO value sets how much the camera will amplify the electrical signals generated by light on its chip.
Modern cameras have the ability to set ISO values typically from 100 to 128,000. So everything about ISO can be summed up in the rule that the greater the darkness, the greater the ISO (gain). So why not set the highest ISO and not worry about whether I’m shooting in daylight or twilight? It’s because each amplifier introduces noise into the signal, which is greater the higher the amplification setting. This means that a higher ISO setting is always redeemed by more digital noise/grain in your photos. We usually adjust the ISO value according to the lighting conditions. The usual ISO setting is at 400 or auto ISO.
What is exposure time and how to set the exposure time
Exposure time is the amount of time the camera shutter is open. Sometimes the term shutter speed is also used in the same sense. The exposure time setting therefore determines how long the exposure of the subject takes. The longer the exposure time, the longer the light hits the camera’s sensor. It works the same way in reverse, the shorter the exposure time, the less time the light hits the camera sensor.

“Keep in mind that you can hold the camera still for no longer than 1/50th of a second. If you set the exposure time longer than 1/50th the image was not blurred.”
These features can vary greatly from camera to camera, so you’ll need to test the necessity of using a tripod with your camera yourself.
What is aperture and how to set the aperture
An aperture is a set of blades in a camera lens that creates an opening through which light hits the camera chip. The inner diameter of the aperture is adjusted by setting the aperture number. The weird thing about setting the aperture is that the lower you set the aperture number, the larger the aperture blades will create. In other words, the lower the aperture number the more light will hit the camera chip. It works similar to winding the louvers on a window blind. The aperture setting therefore has the following consequences:
First, by setting the aperture number, you determine how large an aperture in the lens the light will fall on the camera chip. A larger aperture value means a smaller aperture. The diameter of the aperture determines the depth of field and brightness of the photograph.
Second, setting a larger aperture number will give you photos with greater depth of field and less blurred backgrounds. If you only have some parts of the photo blurred, try setting a higher aperture number. Blurring the entire photo is caused by a long shutter speed.
Third, setting a smaller aperture number can also compensate for the lack of light due to poor lighting conditions.

Summary:
Larger aperture settings will make photos sharp throughout, but may also make them dark. You can brighten it up by setting a higher ISO or setting a longer shutter speed. You can use the shallow depth of field creatively, for example when shooting portraits. Use a greater depth of field when shooting groups of people, nature or landscapes.
How to set the camera:
- The ISO value adjusts the sensitivity to light and affects the brightness of the photo. High ISO values can cause visible grain in the photo.
- Exposure time determines how long the light forming the image will fall on the camera chip. Long exposure times (longer than 1/50th of a second) can cause blurring of the photo.
- Aperture controls the depth of field. Setting a small aperture number will take photos with a shallow depth of field (portrait) and vice versa (landscape).
What to set earlier aperture or exposure time
It depends on what you want to shoot. Landscape, nature, architecture, city or portrait photography will be emotionally enhanced by the depth of field of the photo. The depth of field of a photo is controlled by adjusting the aperture and its aperture number. Conversely, you can capture a photo of sports, flowing water, children running or a moving car by setting the correct exposure time. Sometimes it is better to set a longer exposure time and sometimes a shorter one. What exposure time to set?
How to put ISO, aperture and exposure time together
We’ll use the exposure triangle. Don’t worry, we’re not going to deal with geometry. The exposure triangle expresses the relationship between aperture, exposure time and ISO.
There’s a lot of it. Fortunately, camera designers have figured out a way to make photographers’ lives easier and have come up with different shooting modes. The most versatile is the P program auto mode, which is also more responsive, unlike scene mode.
Camera P-program-automatika mode
There are many reasons to use this mode. First and foremost is the ability to set the exposure time and aperture individually, with the camera’s automation calculating and adjusting the exposure for you. If you are serious about photography and want to take not only nice but also interesting photos then try shooting in this mode. In particular, controlling the depth of field with the aperture setting and controlling the brightness with exposure correction will put you well ahead of the game. To set this mode on your camera, turn the photo mode dial to P.
If you want to get more forward as a photographer, then you need to understand how ISO, aperture and exposure time work. These three parameters together form the exposure triangle.


