Setting Up Your iPhone for Moon Photography: A Step-by-Step Guide
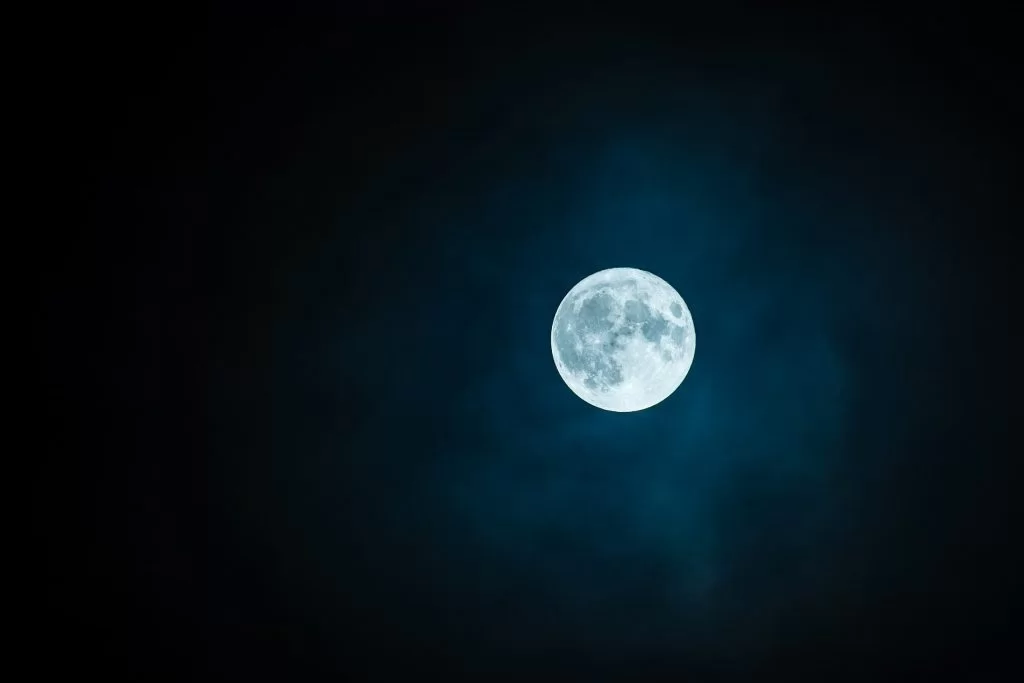
Setting the exposure for moon photography on an iPhone involves adjusting the camera’s exposure manually to achieve the right balance between the bright moon and the surrounding darkness. Here’s how you can do it:
1. Open the Camera App:
- Launch the Camera app on your iPhone.
- Tap on the moon on your screen to set focus and exposure on the lunar surface.
2. Exposure Settings:
If your iPhone supports Night mode, consider using it for moon photography. Additionally, enable HDR mode if there’s a significant brightness difference between the moon and the sky.
- 2.1 Night Mode (if available):
- If your iPhone supports Night mode, experiment with using it for moon photography. Night mode is designed for low-light conditions. Experiment with Night mode designed for low-light conditions.
- 2.2 HDR Mode (if needed):
- If there’s a significant difference in brightness between the moon and the surrounding sky, consider turning on HDR mode. HDR helps capture details in both bright and shadowed areas. Toggle on HDR mode to capture details in both bright and shadowed areas.
3. Adjust Exposure:
By manually adjusting the exposure settings on your iPhone and focusing specifically on the moon, you can capture well-exposed and detailed moon photos. Experiment with these settings to find the optimal exposure for your specific shooting conditions.
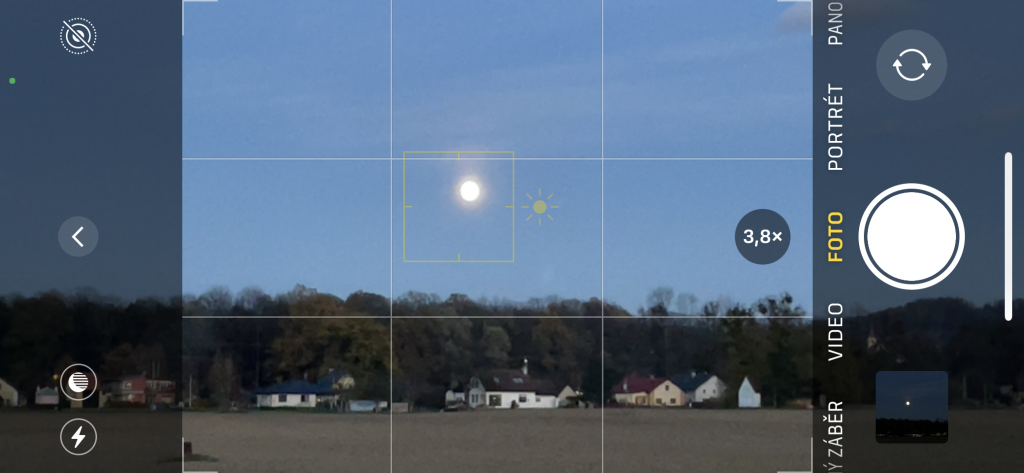
- Tap on the moon on your screen to set the focus and exposure specifically on the lunar surface. This also locks the focus on the moon.
- Swipe up on the screen to reveal additional camera controls.
- Adjust the exposure slider up or down manually for the right balance.
- Move down to decrease exposure (darker image).
- Move up to increase exposure (brighter image).
As you adjust the exposure, monitor the image on the screen to find the right balance. You want to capture details on the moon’s surface without overexposing it.
4. Additional Settings:
- 5.1 Avoid Digital Zoom:
- Use optical zoom if available to prevent loss of detail.
- 5.2 Stabilize Your iPhone:
- Use a tripod or steady surface to avoid camera shake.
- Use the timer function to reduce shake when capturing.
5. Explore Third-Party Apps:
- Experiment with third-party camera apps offering more manual control over settings like ISO and shutter speed.
6. Experiment and Review:
- Take multiple shots with different settings.
- Review images on the spot to make necessary adjustments.
7. Additional Tips:
- 7.1 Turn on the Grid:
- Enable the grid in iPhone settings for better composition.
- 7.2 Disable Flash:
- Ensure the flash is turned off for moon photography.
- 7.3 Use Manual Exposure:
- Manually adjust exposure for the right balance.
- 7.4 Experiment with Editing Apps:
- Enhance images using photo editing apps.
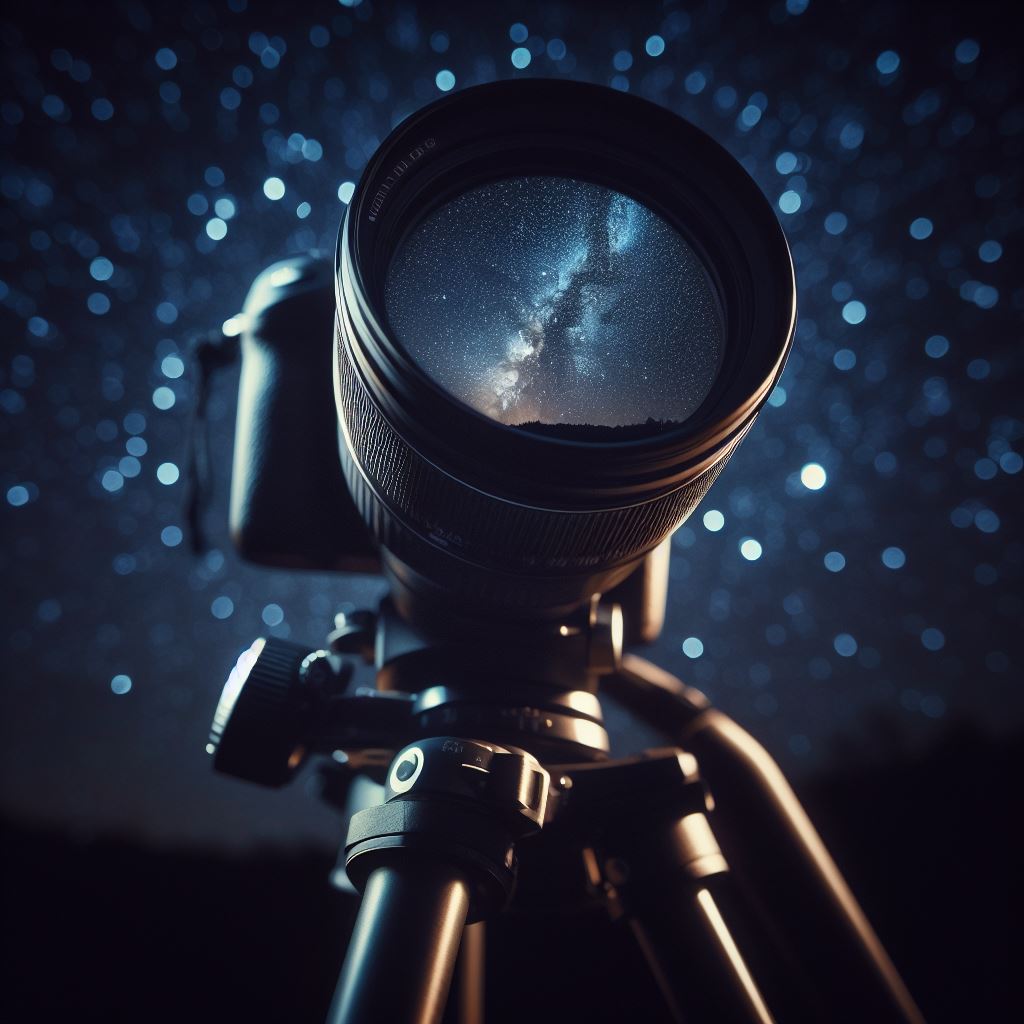
- 7.5 Use a Telephoto Lens Attachment (if available):
- Attach a telephoto lens for a closer view of the moon.
- 7.6 Keep the iPhone Stable:
- Practice a steady grip and minimize motion blur.
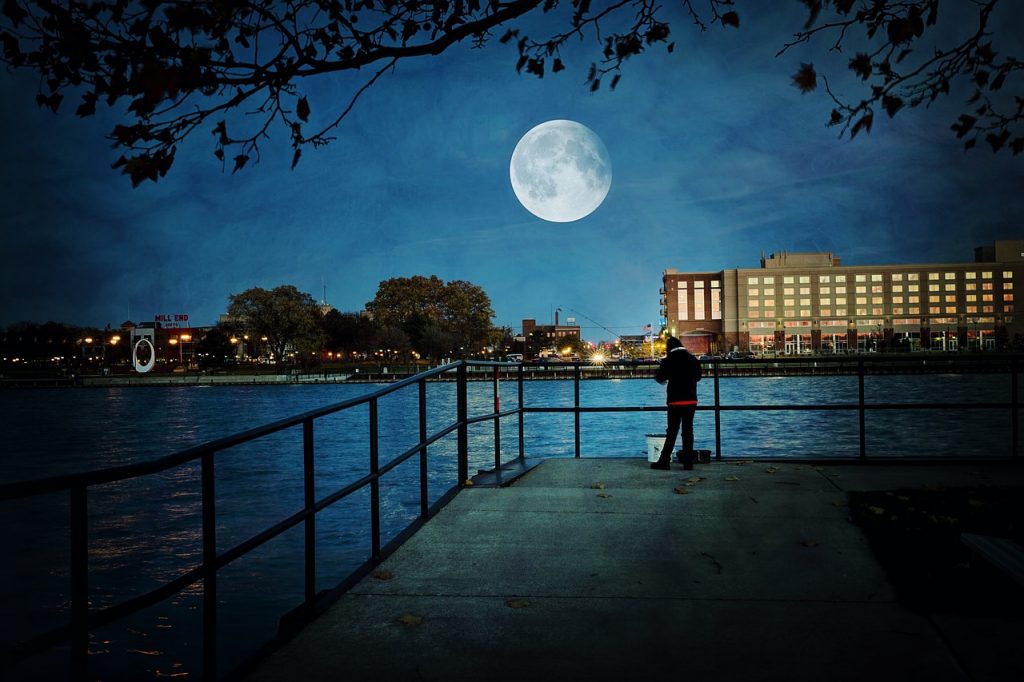
8. Creative Composition:
- Experiment with different compositions, including landscapes or silhouettes for added interest.
9. Regularly Update Your Camera App:
- Check for updates to the Camera app for potential new features or improvements.
10. Final Note:
- Practice and experimentation will refine your moon photography technique over time.
By adjusting these settings and following these tips, you can optimize your iPhone for capturing stunning moon photos.

